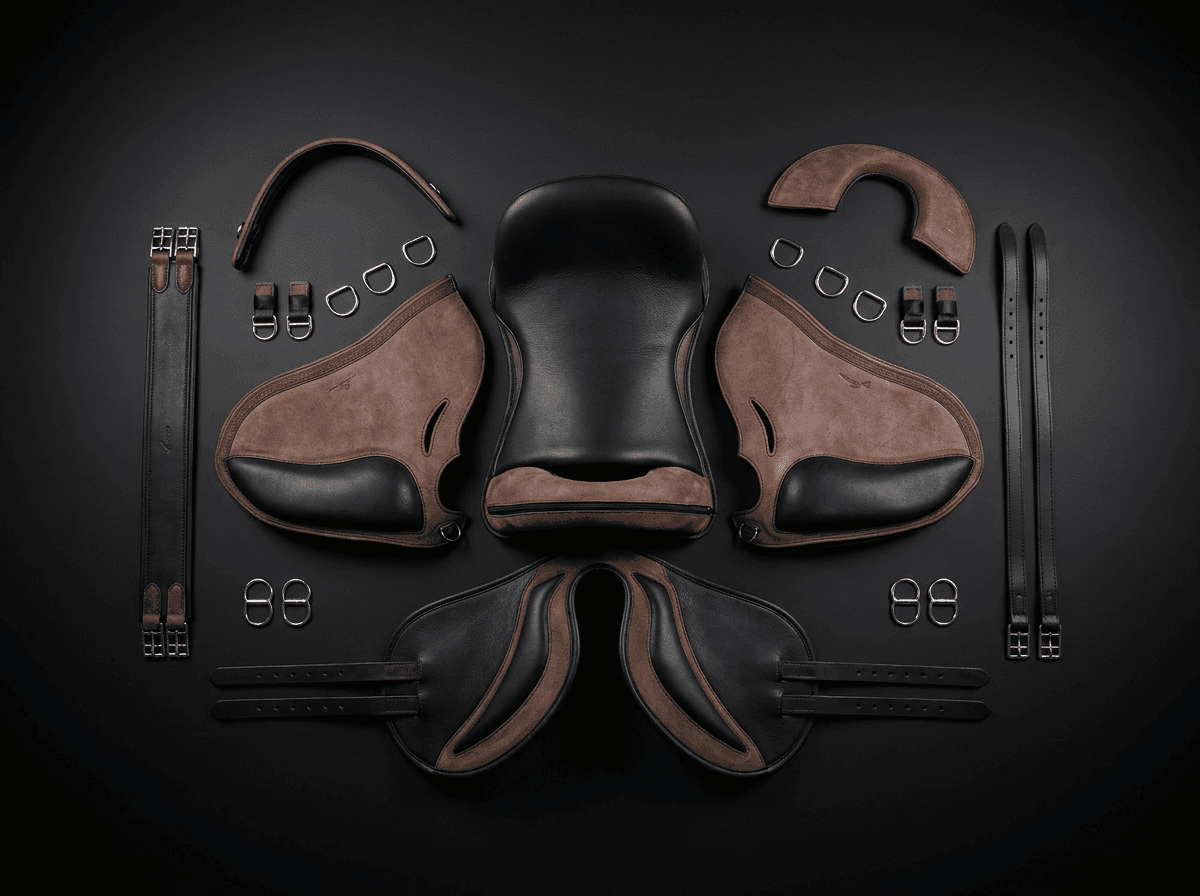

How to position a Freeform on your horse
A treed saddle has one obligatory resting place: the shape of the tree decides where it stops. The Freeform does not — it settles into whatever it finds, so it is you who decides where it sits. That is its great advantage and, if you get it wrong, its one weakness.
The aim never changes: the weight spread over the muscles of the back, the spine completely clear, the shoulder free to rotate.
- 1
Prepare the back
Brush the back and the girth area: a single grain of sand under a treeless pad becomes a pressure point. Run your hand the length of the back and check for anything swollen, warm or sore under pressure. If the horse reacts, stop tacking up and ask your vet.
Checking the horse's back with the flat of the hand before tacking up - 2
Lay the saddle pad on
Set the pad down a little ahead of its final position, over the withers, and slide it back a few centimetres with the lie of the coat. That way the hair stays flat and no folds form under the saddle.
Saddle pad slid back with the lie of the coat - 3
Lift the pad into the channel
Before the saddle goes on, pull the pad upwards over the withers so that it tents above the spine. Without this the pad stretches flat across the back and bears directly on the dorsal spinous processes.
Lift it again once the girth is done up: that is when the channel tends to close.
Saddle pad tented above the withers to clear the spine - 4
Set the saddle down in the right place
Lower the Freeform onto the pad; do not drop it. The front edge should sit roughly two to three fingers behind the rear edge of the shoulder blade, so the shoulder stays free to rotate in extension. Compared with a treed saddle, the correct position often turns out to be a little further back than you would expect.
- The lowest point of the seat falls over the centre of gravity, not behind it
- The saddle must not carry back past the last rib
- No rigid part may rest on the shoulder blade
Side view showing the gap between the scapula and the front edge of the saddle - 5
Check the spine channel
Slide your hand between saddle and spine, front to back, then again from the rear. It must run free the whole length, with no drag and no points of contact. If you feel pressure on the spine, either the pad is badly placed or the padding needs changing.
Checking by hand the clearance above the spine - 6
Tighten the girth in stages
Do the girth up and tighten it gradually, in two or three stages, alternating sides and walking the horse on between them. A treeless saddle wants no more girth than it takes to stay stable: going tighter does not add stability, it takes it away, because it compresses the panels.
- Girth straps symmetrical left and right, on the same holes
- A flat hand should slide under the girth
- Check again after five minutes of walk work
If you have to girth up hard to keep the saddle still, the problem is the placement or the padding — not the girth.
Girth straps buckled symmetrically - 7
Check from the ground, and in movement
Look at the horse from behind: the saddle should be centred, the flaps at the same height and the stirrups level. Then work for five minutes in walk and trot and look again: if the saddle always drifts the same way, note which side and tell the atelier — it is often an asymmetry in the horse, to be evened out with a shim.
Checking the saddle's symmetry from behind the horse
Do
- Two to three fingers of clearance behind the shoulder blade
- A clear channel over the whole spine
- The girth tightened in stages and checked again after the warm-up
- A symmetry check from the ground every time you tack up
Don't
- Placing the saddle on, or too close to, the shoulder blade
- Using a flat saddle pad with no spine channel
- Tightening the girth in one go
- Ignoring a saddle that always slips to the same side
Questions about this guide
In most cases it started too far forward, or the pad is too slippery. Move it back a few centimetres, check the channel and try a saddle pad with more grip. If it persists, the shape of the back may call for dedicated padding: write to us and we will take it case by case.
Yes. A treeless saddle spreads the weight through the pad: a thin, generic pad with no spine channel undoes much of what the Freeform is for.
An even print on both sides, with the spine dry down the middle, tells you it is working. Isolated dry patches within the print mark pressure points to be evened out.
Still unsure?
Send us a photo: we'll look at your case and tell you how to proceed.
Carry on with
Riding
Panels and shims: adjusting how the saddle bears on the back
How to read the sweat pattern and use felt shims to fit the saddle to a back that changes with the season and with the work.
Safety
The safety checks before every ride
Thirty seconds on girthing, stirrups, Velcro and stitching: what to look at, what never to let pass and when to stop.