How to clean a Freeform
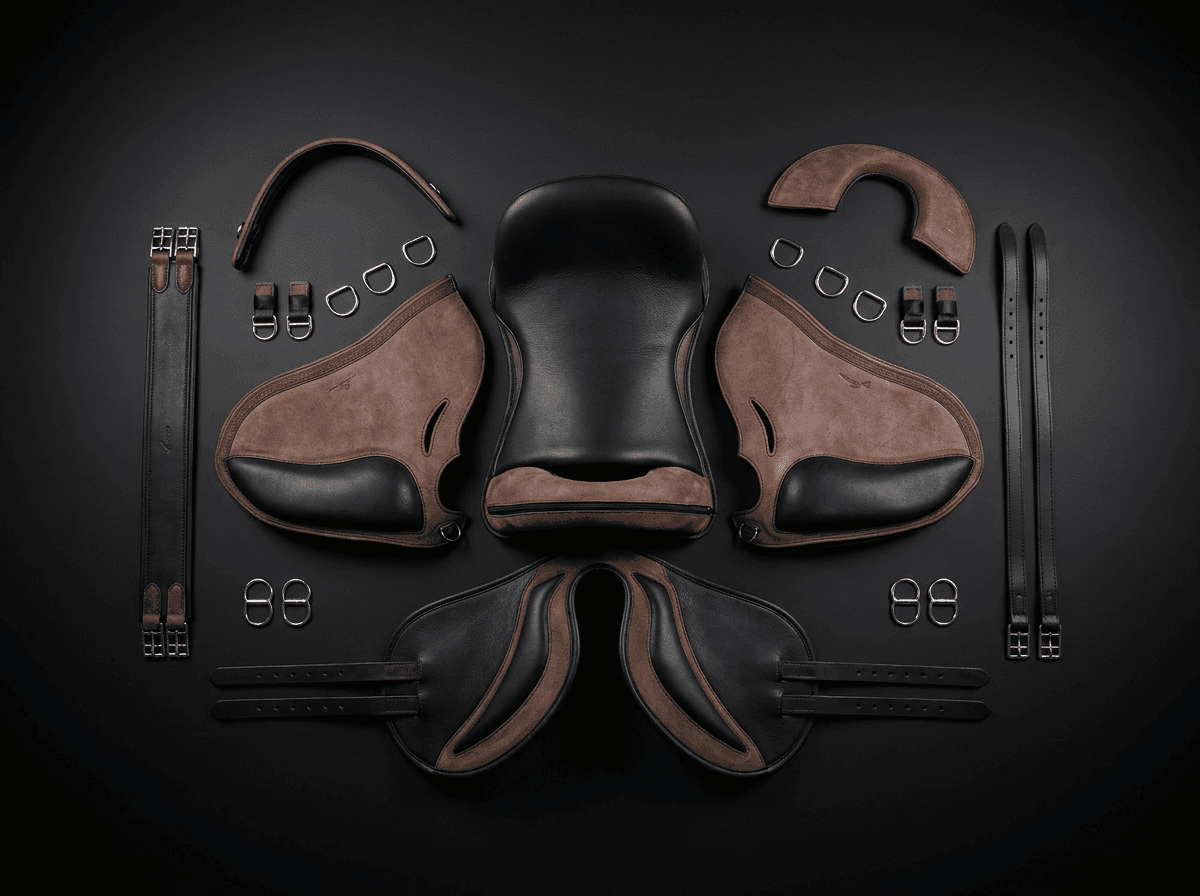
Unlike a treed saddle, the Freeform is made of separable parts: the flexible base, the seat, the flaps and the panels come away in seconds. Cleaning always starts there — it is the only way to get properly underneath the panels, where sweat, sand and hair collect.
There is only one golden rule: very little water, no heat at all. Vegetable-tanned leather and technical foams are damaged far more by too much water and forced drying than by being ridden in.
- 1
Take the saddle apart
Lift the seat, the flaps and the panels off the base. The Velcro fastenings open by pulling from a corner, without sharp tugs. Lay each component on a clean, dry surface: cleaning the saddle assembled always leaves residue in the joins.
Lifting the seat off the base of the Freeform - 2
Brush it dry, before any water
With the soft brush, take dust, hair and above all sand off every component, working over the side that sits against the horse's back and along the edges of the panels. Sand is abrasive: running a damp cloth over sand means scoring the leather.
After a session in a sandy arena, the dry brushing is worth more than any amount of washing.
Dry-brushing the underside of the saddle - 3
Clean the leather with a barely damp cloth
Wet the sponge in lukewarm water and wring it out well: it should be damp, not wet. Work the neutral soap in small circles over the seat, the flaps and the girthing, one section at a time, and lift the lather straight away with the microfibre cloth. Never leave soap to dry on the leather.
- Work one area at a time, from the top down
- Go carefully over stirrup leathers and girth straps, where the sweat gathers
- Never submerge any component in water
No solvents, alcohol, silicone-based products or pressure washers: they dry the leather out and dissolve the adhesives.
Cleaning the leather seat with a sponge and neutral soap - 4
Wash the panels and the saddle pad
The panels and the saddle pad take up most of the sweat. Always follow the label: usually a hand wash, or a delicate machine cycle below 30°, with a neutral detergent and no fabric softener (it saturates the fibres and cuts down breathability).
Never in a tumble dryer and never on a radiator: the foams distort and will not come back to their original shape.
Panels and saddle pad soaking in lukewarm water - 5
Air-dry, away from heat
Leave everything to dry at room temperature in a ventilated room, out of direct sun and away from heaters and hairdryers. The panels must dry flat so they hold their shape. It takes a few hours: this is the step that cannot be hurried.
Saddle components left to air-dry in the tack room - 6
Feed the leather
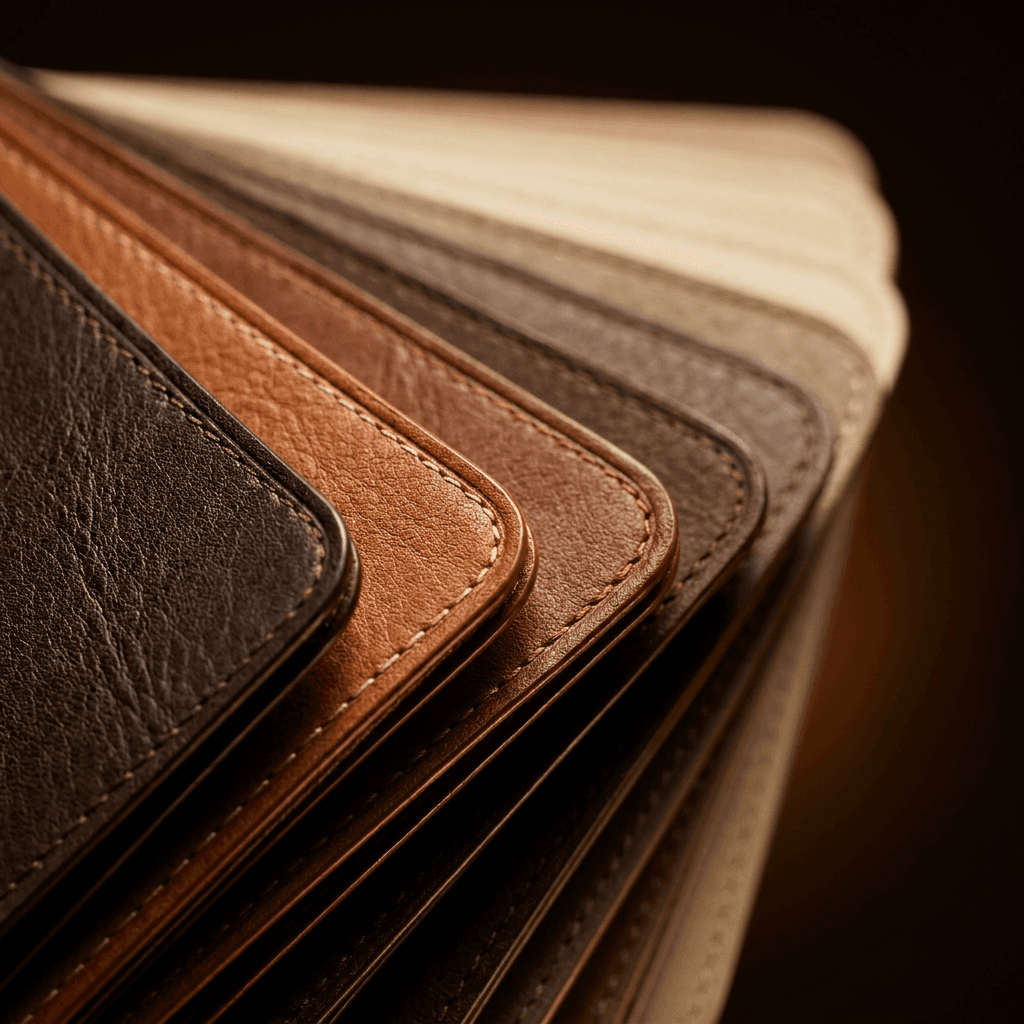
Once the leather is dry to the touch, spread a thin film of balm with a clean cloth and let it soak in. A little product often is better than a lot of product once a year: the excess stays on the surface, closes the pores and attracts dust.
Always try the product on a hidden area first: some balms darken pale leather slightly.
Working nourishing balm into the leather of the seat - 7
Reassemble and check
Put the components back together, checking that the Velcro is clean (clogged with hair it loses its hold: comb it out with a soft wire brush) and that everything sits square and symmetrical. Take the chance for a quick look over the stitching, the girth straps and the stirrup leathers.
- Velcro clean and fully engaged over the whole surface
- Seat centred on the base
- Stitching and girth straps sound, with no pulled threads
Do
- A dry brush after every ride
- A barely damp cloth, never a soaking one
- Air drying, laid flat, away from heat
- A thin coat of balm on dry leather
Don't
- Submerging components or using a pressure washer
- Tumble dryers, hairdryers, heaters or direct sun
- Solvents, alcohol, silicone or harsh detergents
- Putting the saddle away damp in a closed cover
Questions about this guide
In regular use, a full clean every 4-6 weeks is enough, plus a dry brush after every ride. If you ride daily, or in dusty conditions, shorten the interval.
Take the saddle outside, brush it dry to lift the spores, then wipe it over with a barely damp cloth and let it dry right through in the air before you feed the leather. If the mould comes back, the room is the problem: it needs more ventilation and less damp.
If they are neutral, leather-specific soaps and balms, yes. Steer clear of very greasy or siliconised all-purpose products, and of anything that promises an instant shine.
Still unsure?
Send us a photo: we'll look at your case and tell you how to proceed.
Carry on with
Care
Leather care, season by season
What to do after every ride, what to do each month, and how to store the saddle when it stands idle, between winter damp and summer heat.
Safety
The safety checks before every ride
Thirty seconds on girthing, stirrups, Velcro and stitching: what to look at, what never to let pass and when to stop.